Sunday, February 22, 2009

Guest Book and Decoration

If you are having a less formal and fun wedding, I love this picture that I came across on the Brooklyn Bride blog.

[Photo Credit]
I imagine this as a take on the Polaroid guestbook. People can take pictures during the cocktail hour. Then they are posted on a clothesline so that all can enjoy the pics throughout the party. What a fun addition to the night! It will add bright colors and something to look at as people are waiting for dinner to start.
Tuesday, February 10, 2009

Chocolate and Deep Red Wedding

A bride asked me to collect pictures of chocolate and brown weddings as inspiration. I love these deep colors. They make the wedding feel so rich and full. Here are a few of my favorites. The first three are from the wedding of Mike Lieberthal, Phillies catcher, as photographed by Mike Colon.


These next few pictures are from a gorgeous wedding by fellow Project Wedding member It's Nicknack.


The rest of the eye candy is from an inspiration board that I put together. Enjoy!


Monday, February 9, 2009

Personalized River Rocks

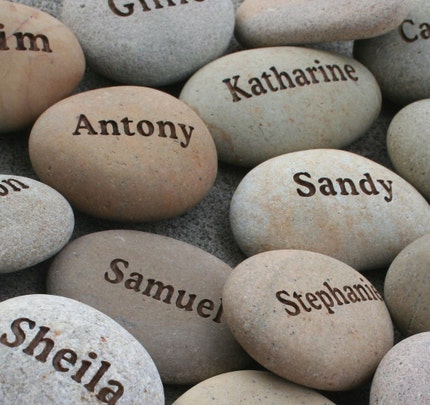
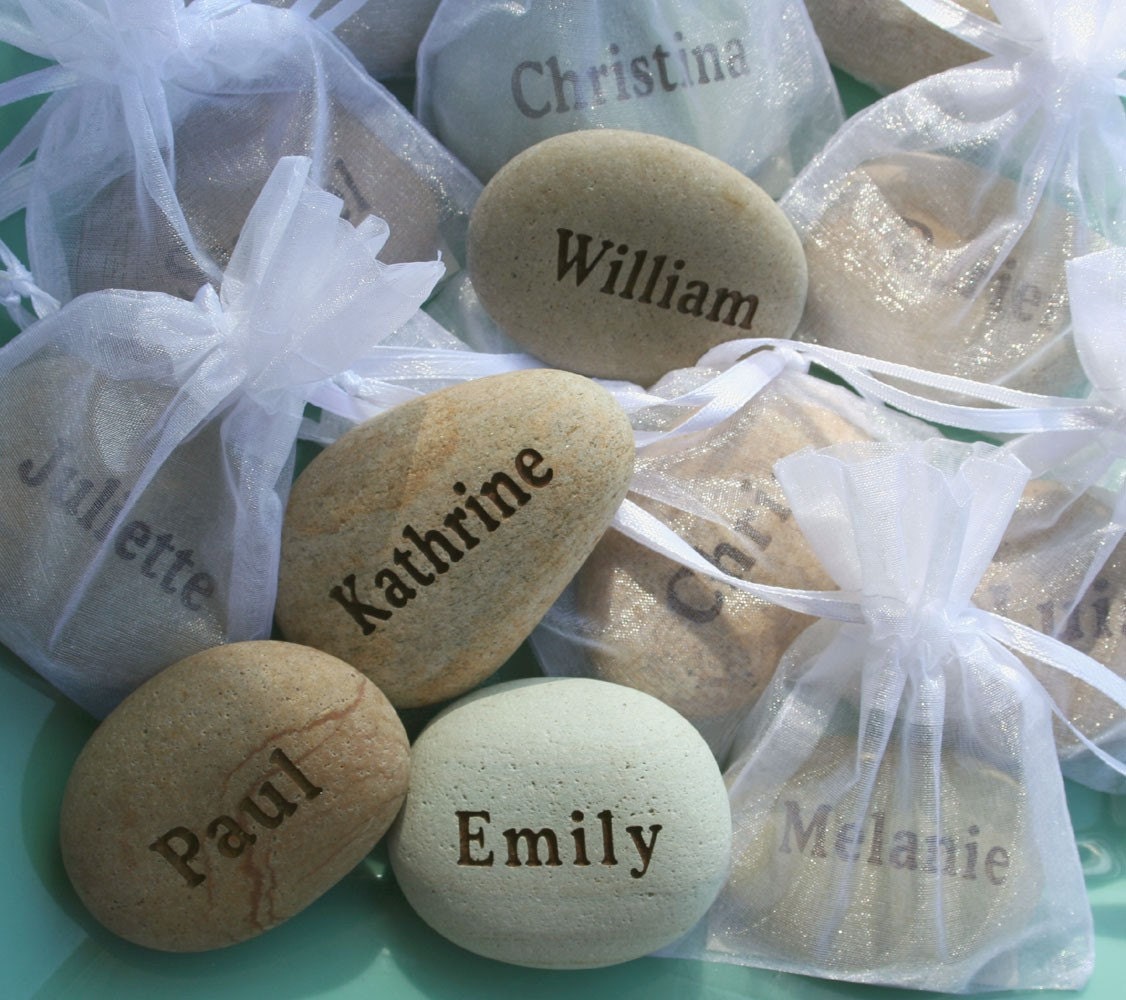
Using organic elements in weddings is very popular right now. Earthy tones are often surrounded by branches, moss, and river rocks. I came across SJEngraving, a local Bay area vendor on Etsy, that had a very unique product. They will individually laser engrave river rocks.
I can imagine these being used as escort cards. They could engrave the table number right on the rock. Or, if you want to be able to have more flexibility in making table changes, you could put the rocks in small bags, using a tag to mark the table number.

Sunday, February 8, 2009

Unique Wedding Keepsake

It has always been a family tradition to purchase an ornament each year as a reminder of whatever of whatever happened that year. We have collected ornaments from out travels and toremember important events. Decorating the tree allows us to reminisce and share memories. I knew that I had to find a special ornament from our first year as a married couple.

Then, I had the pleasure of discovering Camille from her Gorgeous Redhead Etsy shop. She makes custom ornaments based on pictures of the wedding cake. Check out the amazing job she did on mine.

My cake:


My ornament:


Camille is so talented. I can hardly wait for next Christmas to pull it out!

Friday, February 6, 2009

Rockabilly Wedding

I am working with a client that is planning to have a rockabilly wedding on a budget. Here are a few of ideas so far:

Color Scheme: Black, white, with a hint of red


Inspiration Board:


Bridal party: In Converse

Hair - 40's pin-up style, with a birdcage veil or flower

Getaway car: Something 50's. I am currently researching options.

Centerpieces - Classic Coke bottles with a simple flower inside.

Candy Bar - filled only with nostalgic candy (Abba Zabbas, Root beer bottles, Atomic Fireballs)

Menus - Made to resemble classic diner menus, using art deco fonts

First dance - swing dance

As a bachelorette party - Pin Up

Wednesday, January 21, 2009

Website!

My website is finally up and running! At this point, it is really simple, but I am so pleased to have something to start advertising. I love weddings and event planning, so I hope that this will lead to many more opportunities for me. Check it out!
www.pinkpetalseventdesign.com

Sunday, January 18, 2009

DIY Thank You Parasol

Make your own painted parasol to use for photo opportunities. Think of all the varieties. Write "Thank You" on one and pose with it for your thank you cards. Write your initial on them and give them to all your bridesmaids or the guests. Write "Just Married" or your new last name on one and use it for a pretty picture. It is actually an easy project that can be completed in one evening.

Materials needed:
White (or another very light color) paper parasol. I got mine from www.lunabazaar.com
Acrylic paint - any color can be used, but darker colors show up better in pictures
Paint brushes - I suggest one medium and one extremely thin one
Computer and printer
Scotch tape

Directions:
1 - Type whatever you want on the computer in extremely large letters. To make it large enough to look right, it will actually print larger than a piece of paper. Don't worry about that. Just tape the pages together until they fit. I found that I also needed to bold the letters to make it look right.
2 - Tape the word to the underside of the parasol. Play with the placement until it looks even.
3 - Use the extremely thin paint brush to trace the letter outline. Then use the wider paint brush to fill the letters in.
That's it! At times, there will be a little guess work, but it really is just that simple. No one will probably see your parasol from up close. I noticed a few small details that I got off, but you cannot see them in photos. Good luck!
**Note: This article was also posted as a Project Wedding guide. **